The Invisalign Step-by-Step Guide
Invisalign treatment is structured but the marketing material rarely walks you through it visit-by-visit. Priya wrote this to demystify the timeline so you know what’s coming next at each stage.
Stage 1 — Initial consultation (45–60 min)
- Clinical examination, photos, and discussion of what you want to change.
- Periodontal check — gum disease and active decay must be addressed before any tooth movement.
- Discussion of whether Invisalign is the right tool, vs traditional braces, vs no treatment.
- If suitable, discussion of expected treatment time and ballpark cost.
You don’t commit at this visit. Many providers offer this consultation free or at minimal cost.
Stage 2 — Records appointment (30–60 min)
- Intraoral 3D scan (most clinics now use iTero or similar — no putty impressions).
- Comprehensive photographs.
- OPG x-ray (the wide jaw x-ray) and possibly cephalometric x-ray for complex cases.
- Detailed bite registration.
The scan and records go back to Align Technology, who produce a digital treatment plan (“ClinCheck”). Your dentist reviews and modifies this plan before approving manufacture. The trays then take 4–6 weeks to arrive.
Stage 3 — Treatment plan review (30 min)
Your provider walks you through the digital ClinCheck plan — a video showing how your teeth will move, stage by stage, to the final position. This is your chance to:
- Confirm you’re happy with the proposed final result.
- Discuss any compromises (some movements take longer; some require auxiliaries).
- Confirm the treatment time and final cost.
- Sign consent and arrange payment plan if applicable.
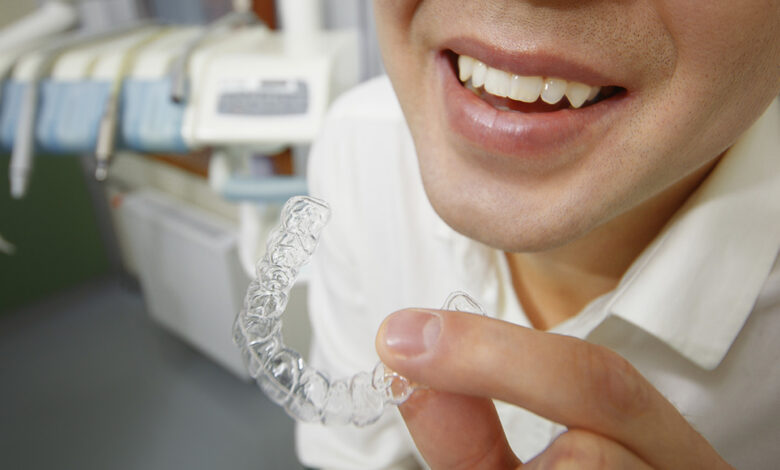
Stage 4 — Trays delivery and attachments (60–90 min)
- Your full set of trays is delivered (some clinics give you all of them up front; others give a set every few months).
- Attachments are placed. Small tooth-coloured composite bumps are bonded to certain teeth so the trays have something to grip — particularly for rotations and intrusions. They come off at the end of treatment.
- IPR (interproximal reduction) may be done at this visit or future visits — a tiny, painless filing of enamel between certain teeth to create space for movement.
- Tray 1 fitted, instructions given.
Stage 5 — Active treatment phase (months 4–18)
- You wear each tray 20–22 hours per day for 1–2 weeks (depending on your protocol), then swap to the next.
- Take trays out only to eat, drink anything other than water, and brush.
- Brush after meals before re-inserting trays.
- Mild discomfort for the first 2–3 days of each new tray.
- Review appointments every 6–10 weeks — typically 15-minute visits to check progress and provide the next batch of trays.
Stage 6 — Mid-course refinement (often, not always)
Around 70–80% of cases need at least one “refinement” — a fresh scan partway through the treatment to course-correct any teeth that haven’t tracked exactly as planned. A new short series of trays is produced. This is normal, expected, and almost always included in the original fee.
Stage 7 — Completion and retention (lifetime)
- Final tray completed.
- Attachments removed.
- Final scan and photos to compare against the start.
- Whitening and any aesthetic finishing (composite bonding, polishing) often done at this stage.
- Retainers fitted. Wear full-time for 3 months, then nights-only essentially forever.
Skipping retainer wear is the single biggest reason people end up needing Invisalign a second time. Many providers also recommend a fixed wire bonded behind the front teeth as additional insurance.
Total time investment, summarised
- In-office time: ~6–10 visits over the full course, totalling 5–8 hours.
- Active treatment duration: 4–24 months depending on case complexity.
- Daily wear commitment: 20–22 hours per day during active phase, 8 hours nightly during retention.